 This year I’d like to have a play with different surface art and embellishment techniques. So each month, I’m challenging myself to make a t-shirt using a different technique. To kick off my January project, I thought I’d start with an easy one – iron on transfers.
The project for this was a new set winter pyjamas ( New Look 6216). Yes, I know it is the middle of summer here, but it is a good chance to have a play. The flannelette for the PJ bottoms has a really cute fox print and I was careful to cut the fabric so as to match the prints. I then scanned one of motifs using the flatbed scanner on my printer. Taking a photo would also have worked.
Using Paintshop, I used the scanned image as a background and cleaned up the image a bit. Using the “smart selection” tool, I erased the grey background and gave the fox solid colouring ( rather than the mottled effect from the scanning). The transfer was printed on inkjet transfer paper for dark fabrics and trimmed it to the fox outline. The backing paper was hard to remove, but I was eventually able to start to get it to peel off. It is then placed on the t-shirt and ironed it on using parchment over the design. It is allowed to cool before the parchment is removed. So far I’ve machine washed it a few times and the image is unchanged.
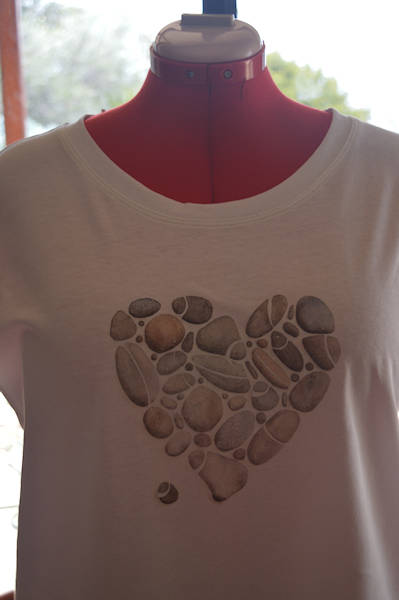
I also made a couple of other t-shirts, this time with the transfer paper for light fabrics. With these, the image needs to be mirrored before it is printed. I found with these that the image didn’t transfer as fully as the opaque paper.


How did they go when you washed them? I’ve done some great transfers in the past, but none have really survived more than a couple of washes.
LikeLike
Hi Melinda,
They have lasted really well so far. They have had about 10 washes so far and I can’t notice any breakup of the print. So far – so good!
I just had a quick look at your blog and I like the iced-dyed T that you did.
LikeLike
I was admiring your mokume shibori shirt – you could see a version of that appearing soon too! 🙂
LikeLike
Awesome – I’ll be watching out for it !
LikeLike